TomTom
TomTom is the Geocaching-specific application I used. This tutorial is a Work In Progress (WIP). TomTom version 5.2.1 December 2005 is the version shown in all screenshots of TomTom. A review of TomTom for Pocket PC is also available. An advanced tutorial is forthcoming.
Tutorial
- Purchase and install TomTom
- Download the gpx/loc from GeoCaching.com
- (optional) Process with Geocaching Swiss Army Knife, export to ov2
- (optional) Process with GPSBabel, export to ov2
- Transfer the ov2 to the PocketPC (I use the CF card)
- Open TomTom, and verify the POIs are visible
- Select A Cache To Navigate To
- (optional) Navigate To The Cache
1. Purchase and install TomTom
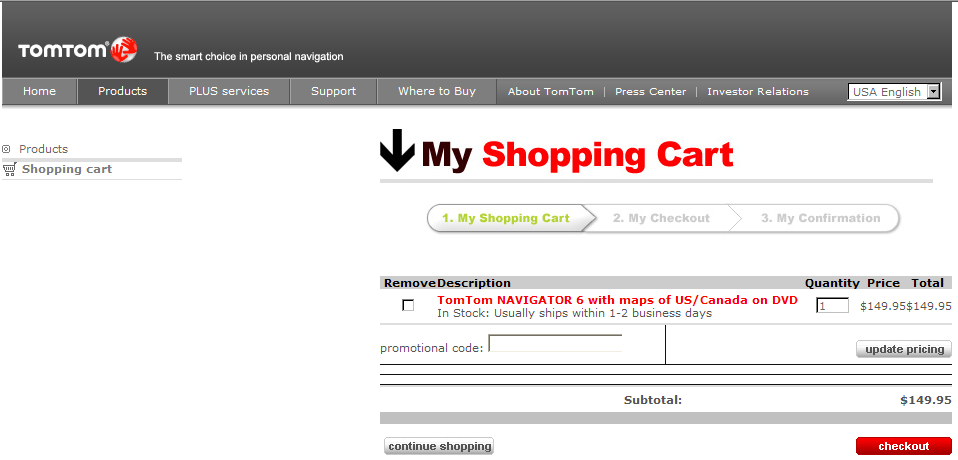
Purchase TomTom from TomTom.com or another vendor and follow the installation instructions.
2. Download data from Geocaching.com
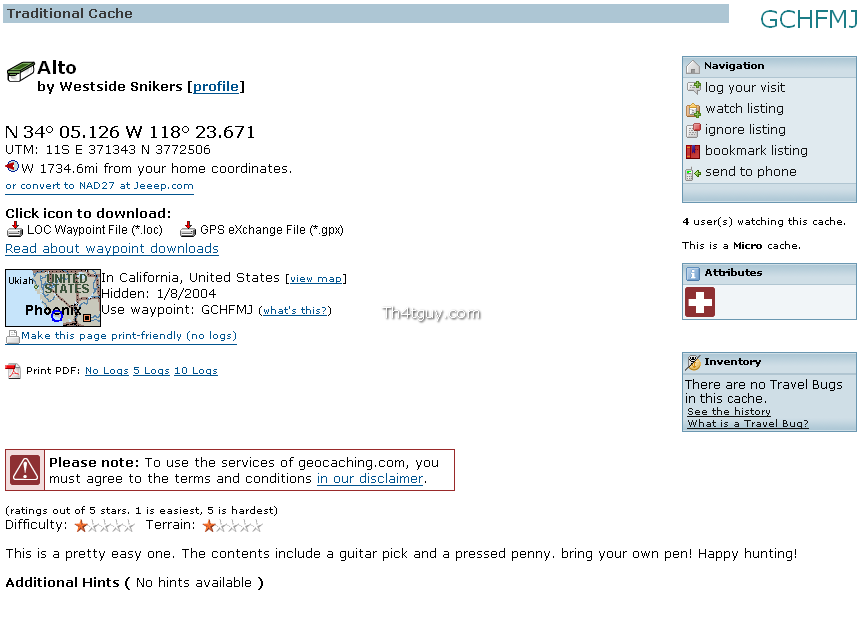
See the GeoCaching Tutorial for more information.
3. Process file with GSAK
This step is optional, you may use GPSBabel instead.
4. Process with GPSBabel, export to ov2

- This step is optional, you may use GSAK instead.
- Take the source GPX file and convert it to TomTom format. ( gpsbabel -i gpx -f GeoCache.gpx -o tomtom -F GeoCache.ov2 )
- You may optionally also create a BMP for display on the TomTom screen - it MUST have EXACTLY the same name as your ov2 file.
5. Transfer the ov2 to the PocketPC
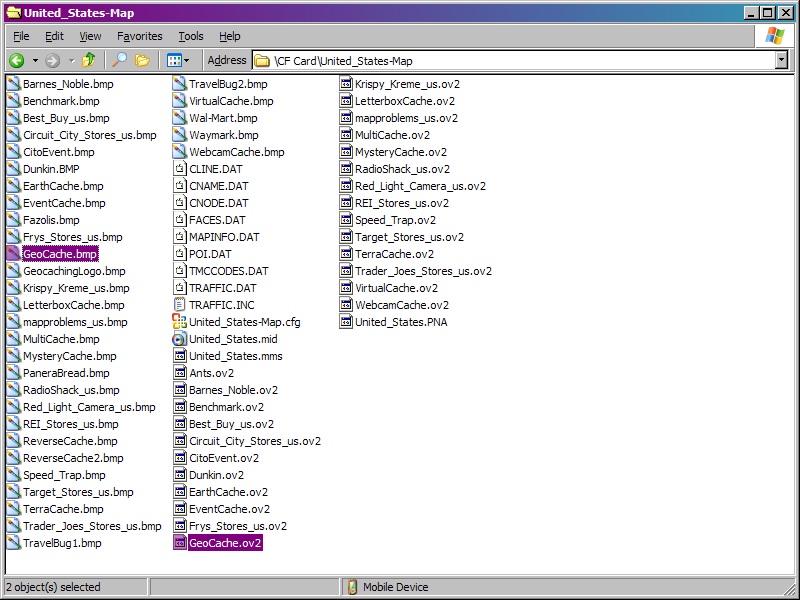
- Take the source ov2 files and copy them to the PDA. An example directory on the PDA to copy the files into is \CF Card\United_States-Map .
- You may optionally also copy the BMP file if you want custom POI icons.
6. Open TomTom, and verify the POIs are visible
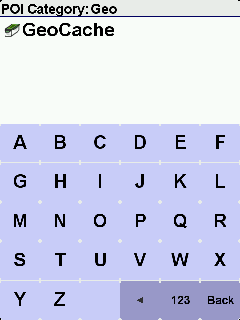
- Open TomTom on the PDA
- Select Naviagte To...
- Select POI
- Select More
- Type the name of your ov2 file until it appears in the list
7. Select A Cache To Navigate To
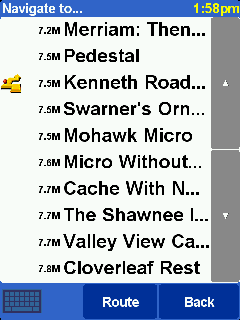
- Select your POI category
- Select an item to navigate to
8. Navigate To Cache
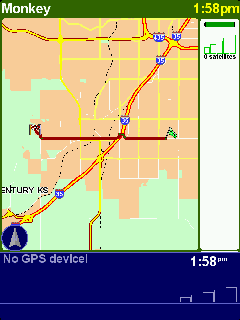
- Let TomTom calculate the route
- Select Start Driving
Online Documentation
The complete Online Documentation for TomTom is available at http://www.tomtom.com/lib/doc/mob5_nav5/refman/Main_menu_EN_US.html.
Screen Shots
Hardware
Current
- Dell Axim X50v PocketPC PDA
- DeLorme Earthmate BlueLogger BT GPSr
- Gomadic Window PDA Mount
Historical
- Compaq iPAQ H3900
- Navman GPS Sleeve