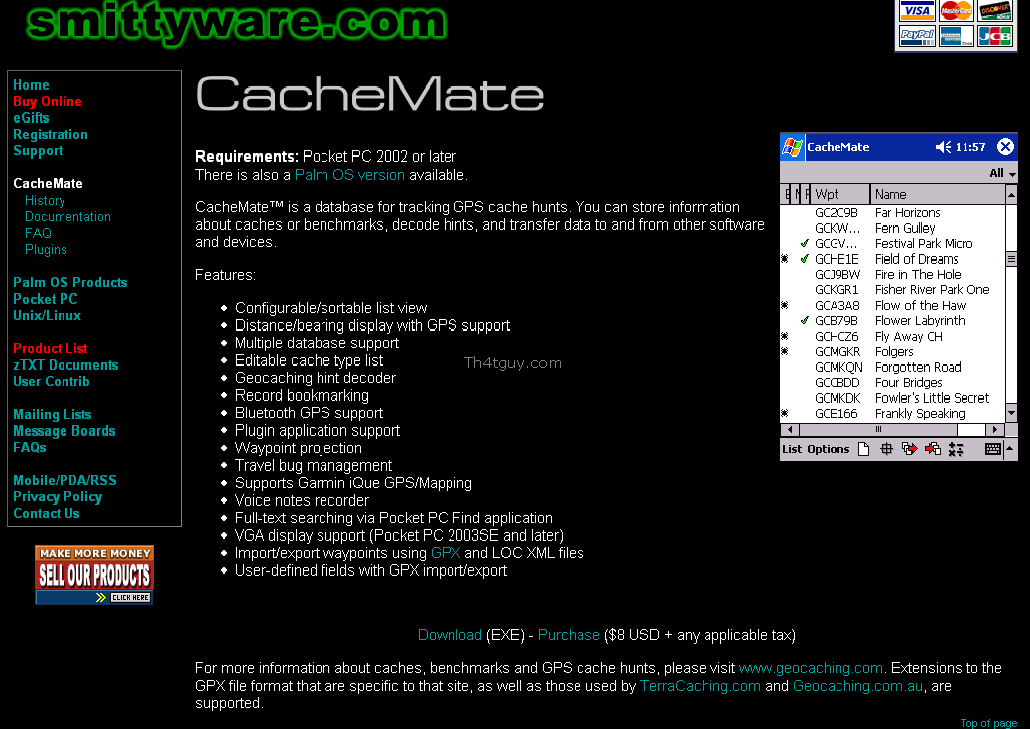
Smittyware CacheMate
CacheMate is the first Geocaching-specific application I used. This tutorial is a Work In Progress (WIP). CacheMate version 1.2.0 July 16, 2006 is the version shown in all screenshots of CacheMate. A review of CacheMate for Pocket PC is also available. An advanced tutorial is forthcoming.
Tutorial
- Download and install CacheMate
- Download the gpx/loc from GeoCaching.com
- (optional) Process with Geocaching Swiss Army Knife, export to gpx
- Transfer the gpx to the PocketPC (I use the SD card)
- Open CacheMate, and import the gpx into the DB (default)
- Select The Correct Filter (All)
- Select A Cache To Navigate To
- (optional) Navigate To The Cache
1. Download And Install CacheMate
Download CacheMate from SmittyWare.
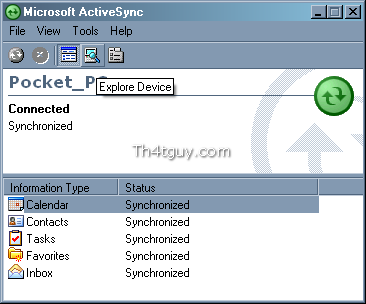
Transfer the .exe to the PocketPC PDA using ActiveSync. Connect the PDA to the PC using the cradle or other cable connection. Run ActiveSync (if may run automatically) and select the "Explore" option.

An Explorer window will open showing the device. Drag and drop the CacheMate .exe file that was downloaded from SmittyWare to this window.

On the PocketPC, use File Explorer to browse to the same folder as was displayed in the "Explore" option from ActiveSync on the PC. Double-tap the CacheMate .exe file to install it.

Once it is installed, it should be available to run from Start -> Programs.
Note: Also at SmittyWare is a link to purchase/register the application for US$8. If this is the path that will be taken, it is recommended that this be done now. Registration takes time, and should be done sooner than later. It is frustrating to be ready to go caching, but having to wait until the registration comes in to leave. This also applies to becoming a Premium member at GeoCaching.com. That process may take 3 or more days to complete. There are ways around registering, but that is the topic of another tutorial.
2. Download data from Geocaching.com
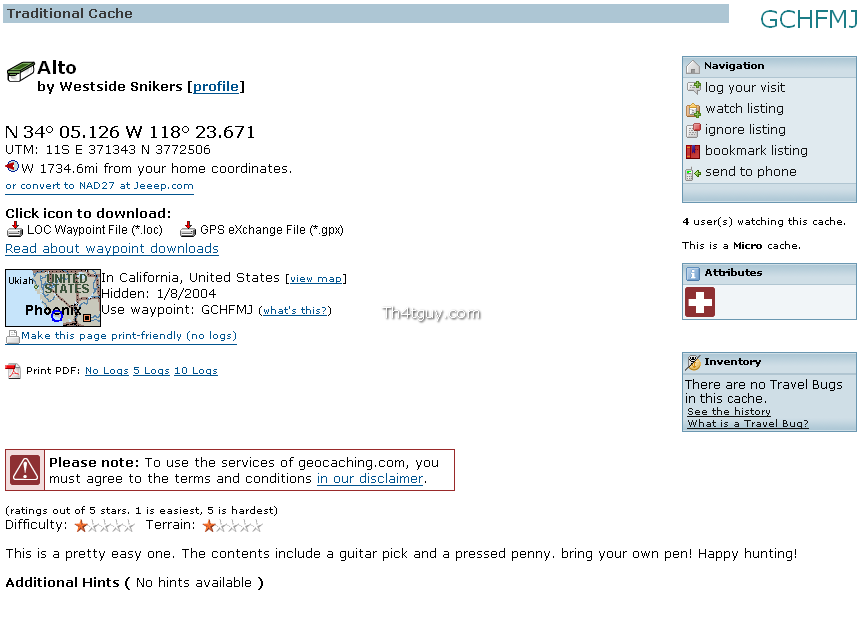
Download data from geocaching.com. In this example screenshot, a random cache was picked. This is the main details screen for the cache. The important part here is the section entitled "Click icon to download."
 or
or
Depending if you are a normal or premium member, you will have either one or two options. Everyone gets the .loc file option, but only premium members get the .gpx option. In either case, a file will be transferred. Either geocaching.loc or {waypoint}.gpx (where {waypoint} is the waypoint abbreviation code for the cache.)
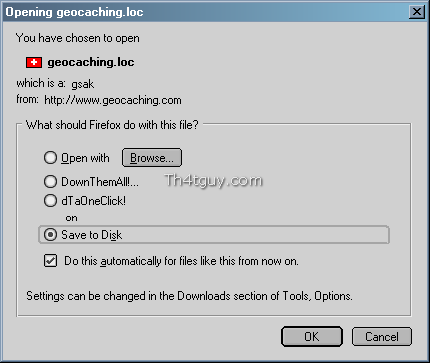
Save this file to a known location on your computer (such as c:\caches) for each cache you want to import.
Note: There is an easier way to get data for multiple caches, but that is the topic of another tutorial.
GPX vs LOC
Why would you care to use GPX over LOC? The answer is the sheer amount of information available in GPX. If you use only LOC, then all you will get is the waypoint, name, and coordinates. With GPX, you get the full description, ratings, hints, and some of the recent logs as well.
I have created a separate tutorial page comparing GPX vs LOC.
3. Process file with GSAK
Note: This step is completely optional. GSAK merely lets you organize your caches and convert file types. It is NOT necessary to use it at all.

Start Geocaching Swiss Army Knife (GSAK) and use the File -> Load GPX/LOC (Ctrl + O) menu bar option.

Select the file from the previous step, which is either geocaching.loc or {waypoint}.gpx, and press the "Start" button.

GSAK will process the file through GPSBabel and import it into your local GSAK database.

You will now be able to see this cache, as well as any other caches you may have imported into GSAK, in the main grid display.

Select File -> Export -> GPX/LOC (Ctrl + G) menu bar option.

Input a filename (such as c:\CacheMateExport.gpx) and select "Generate".
Note: GSAK can do all sorts of filtering and conversions, but that is the topic of another tutorial.
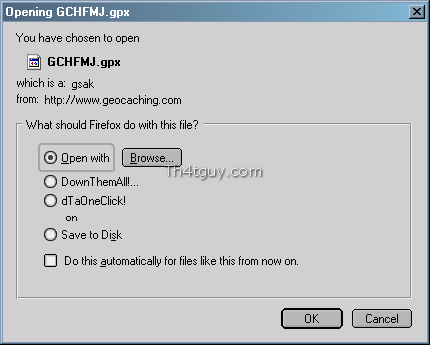
4. Transfer the gpx to the PocketPC

The next step is very device-specific. The end result is that you want your .gpx file (c:\caches\CacheMateExport.gpx) on your PocketPC device. Depending on your exact hardware and options, there are several options. The most simple way is to use the "Explore" option in ActiveSync to browse your device, then drag and drop the .gpx file from your PC to your PDA. This can also be a very slow and annoying process, especially with larger files. Another way is to have a removeable media card, generally a Compact Flash (CF) or Secure Digital (SD) card and a compatible card reader for your PC. In this case, you simply plug the media card into the PC, browse to it in Windows Explorer (or just let Windows XP pop up the explorer for you), and drag and drop the .gpx file to the card. As soon as it completes, you can pop the card out of your PC and back into your PDA.
Note: PocketPC hardware can vary greatly and can the specifics of media cards and card readers, but that is the topic of another tutorial.
5. Import the gpx into CacheMate
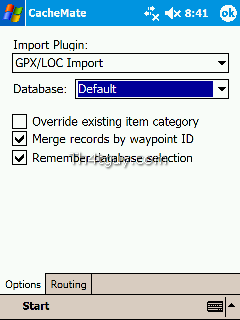
Over on your PocketPC PDA, open CacheMate and select the import button, then start.
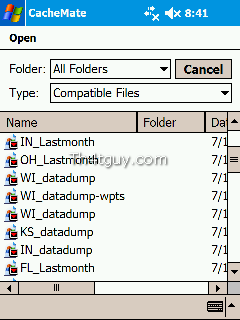
Now find the gpx file you want to import (CacheMateExport.gpx) and select it. CacheMate will process the file and then return you to the list view.
Note: CacheMate supports multiple databases and many other advanced features, but that is the topic of another tutorial.
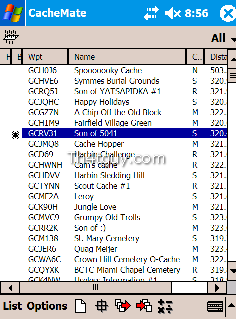
6. Select the correct filter
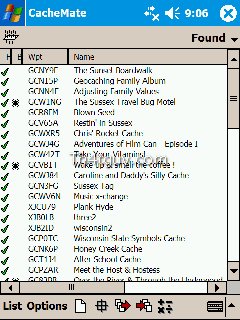
At the top right of the screen in list view, there is a filter for "Found," "Not Found," "Unfiled," and so forth. The default is "Unfiled," so make sure this filter is set correctly or you may not see any caches listed. This filter is a Category in the CacheMate local database, and may not correlate to any of the actual cache attributes.
Beware that the unregistered version of CacheMate only supports up to 10 caches at a time. If you have parking coordinates, trailhead coordinates, or stages for a multi-cache, then you will need to leave room for these in the 10 limit when going out.
Note: Categories and related behaviors are configurable, but that is the topic of another tutorial.
7. Select A Cache To Navigate To
Double-tap on any cache from the list view. This will bring up the cache view, displaying the details of the selected cache.
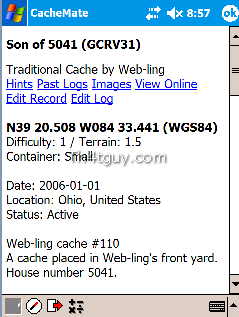
The information displayed in this view is pretty much the same as the cache page at GC.com.
What will be missing is any images in the cache description. For most caches, this will not make any difference. However, for some Event and Puzzle caches, this will make all the difference. Resort to printouts as a backup, solve the puzzle before heading out to cache, or save the images directly to the PDA.
Note: Cache details are fully editable, but that is the topic of another tutorial.
8. Navigate To Cache
Note: This step is completely optional. If a separate GPSr handheld unit is being used, then disregard this step.
Tap the Navigate icon on the cache view to display the directional indicator for navigation. This indicator can be used the same way as the one from a handheld GPS device to provide guidance to the cache. By default, the display will show a dial indicating the direction the cache is in and a distance to cache display in miles or feet, as well as a few other data points.
Note: The navigation display is configurable, but that is the topic of another tutorial.
Note: If you have suggestions for improving this tutorial, or a topic for another tutorial, please let me know.
Online Documentation
The complete Online Documentation for CacheMate is available at http://www.smittyware.com/ppc/cachemate/doc.php.
Screen Shots
 CacheMate List Screen |
 CacheMate Delete Voice Notes |
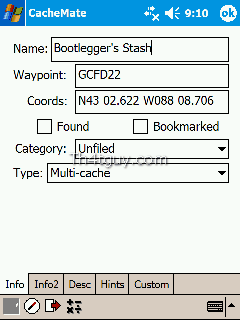 CacheMate Cache Edit Info |
 CacheMate Cache Edit Info2 |
 CacheMate Cache Edit Desc |
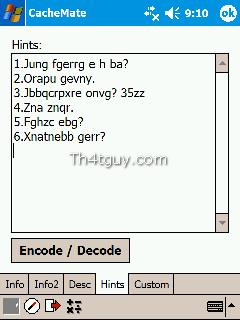 CacheMate Cache Edit Hints |
 CacheMate Cache Edit Custom |
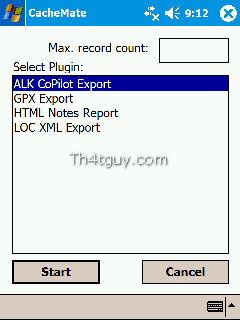
 CacheMate Plugins |
 CacheMate DNF |
 CacheMate Found |
 CacheMate Export |
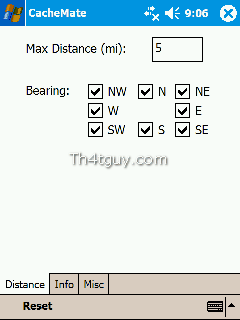 CacheMate Filter Distance |
 CacheMate Version |
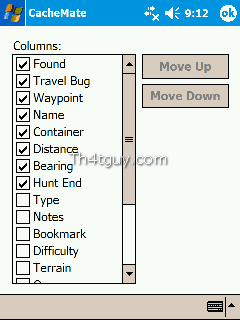 CacheMate Columns |
 CacheMate List View Options Menu |
 CacheMate Cache View 2 |
 CacheMate Cache Log |
 CacheMate Cache Time |
 CacheMate Cache Bugs |
 CacheMate Cache Voice |
Hardware
Current
- Dell Axim X50v PocketPC PDA
- DeLorme Earthmate BlueLogger BT GPSr
- Gomadic Window PDA Mount
Historical
- Compaq iPAQ H3900
- Navman GPS Sleeve